File System
Purpose and Use Case
The File Grabber and Dumper Workers are designed to fetch/dump files from/to the server's filesystem respectively.
File Grabber
File Grabbers filter the files based on specified criteria and can optionally move or delete them after reading. Once fetched, the data from these files is made available for the next worker in the zSYNC pipeline.
File Grabbers support both binary and text files. For more specific handling of other file types, such as CSV, PDF, and JSON, zSYNC offers dedicated workers tailored to those formats.
The File Grabber Worker is commonly used in scenarios where data required for a zSYNC pipeline is stored on the server's filesystem. It is especially useful when automating data processing pipelines that involve files being uploaded or generated on a server.
File Dumper
File Dumpers take only a file path as configuration and dump the passed record to that location.
This means that there may be need for a preceding Mapper/Transformer worker to ensure that the dumped data is correctly shaped.
Configuration
1. File Path:
This field specifies the search path for the files to be fetched. Expected content is a string, but it is parsed to allow for references to a record's attributes.
Typical file path patterns might look like:
#Grabber example
/**/{record.filename}

#Dumper example
/data_dumps/{record.filename}.csv
In some cases, a Mapper Worker might be required before the File Grabber/Dumper to map filenames to a usable format. Pipeline data can be referenced using record.filename or data.filename, depending on how the data is mapped within the pipeline and the name of the specific attributes on your data. For more details on data references see Accessing Data.
File Grabber Workers allow the use of wildcards within the filepath. It can be helpful to have some basic knowledge of standard Linux path wildcards/globs, eg.
*,?,*•*,\*.Use wildcards in the file path, to search the file system for pattern matches, rather than exact character matches, or to search recursively through child folders.
2. Search Subfolders:
Enables recursive searching through subfolders for matching files. This is equivalent to including /** at the beginning of the file path pattern.
3. File Limit:
Setting this value to 0 means there is no limit, allowing the worker to fetch an infinite number of files. You can set it to any positive integer to limit the number of files retrieved.
4. Created Before/After:
These fields filter the selected files based on their creation date. Dates should be in the format:
'YYYY-MM-DD HH:MM:SS'
This ensures that only files created within the specified time frame are selected.
5. Action After Read:
Defines what to do with files after they have been read. The available options are:
-
Move: Move the files to a specified path on the server's filesystem.
-
Delete: Permanently delete the files after reading.
Moving files requires specifying the destination path.
6. Content Type:
Specifies the type of content expected in the files. The default is binary, but the worker also supports plain text files. For more specific handling of CSV, PDF, and JSON files, see the relevant workers types.
7. Encoding:
Specifies the encoding format of the file content. The default is UTF-8.
Usage and Best Practices
Common Pitfalls:
-
Incorrect File Path Pattern: Make sure the file path pattern correctly matches the server directory structure. Using a mapper worker beforehand can help format filenames correctly.
-
Misconfigured Actions After Read: If moving files, ensure that the destination path exists and is writable. Deleting files is irreversible, so use this option cautiously.
Performance Tips:
-
Limit File Quantity: Use the
File Limitfield to avoid fetching excessive numbers of files, which can slow down the pipeline. -
Narrow Search Scope: Avoid unnecessary recursive searches by setting the file path pattern as specifically as possible.
8. Import File:
There are three different ways to import file
-
Create a record of under Attachments(ir.attachment) and read particular record
by adding domain.
1: Create attachment record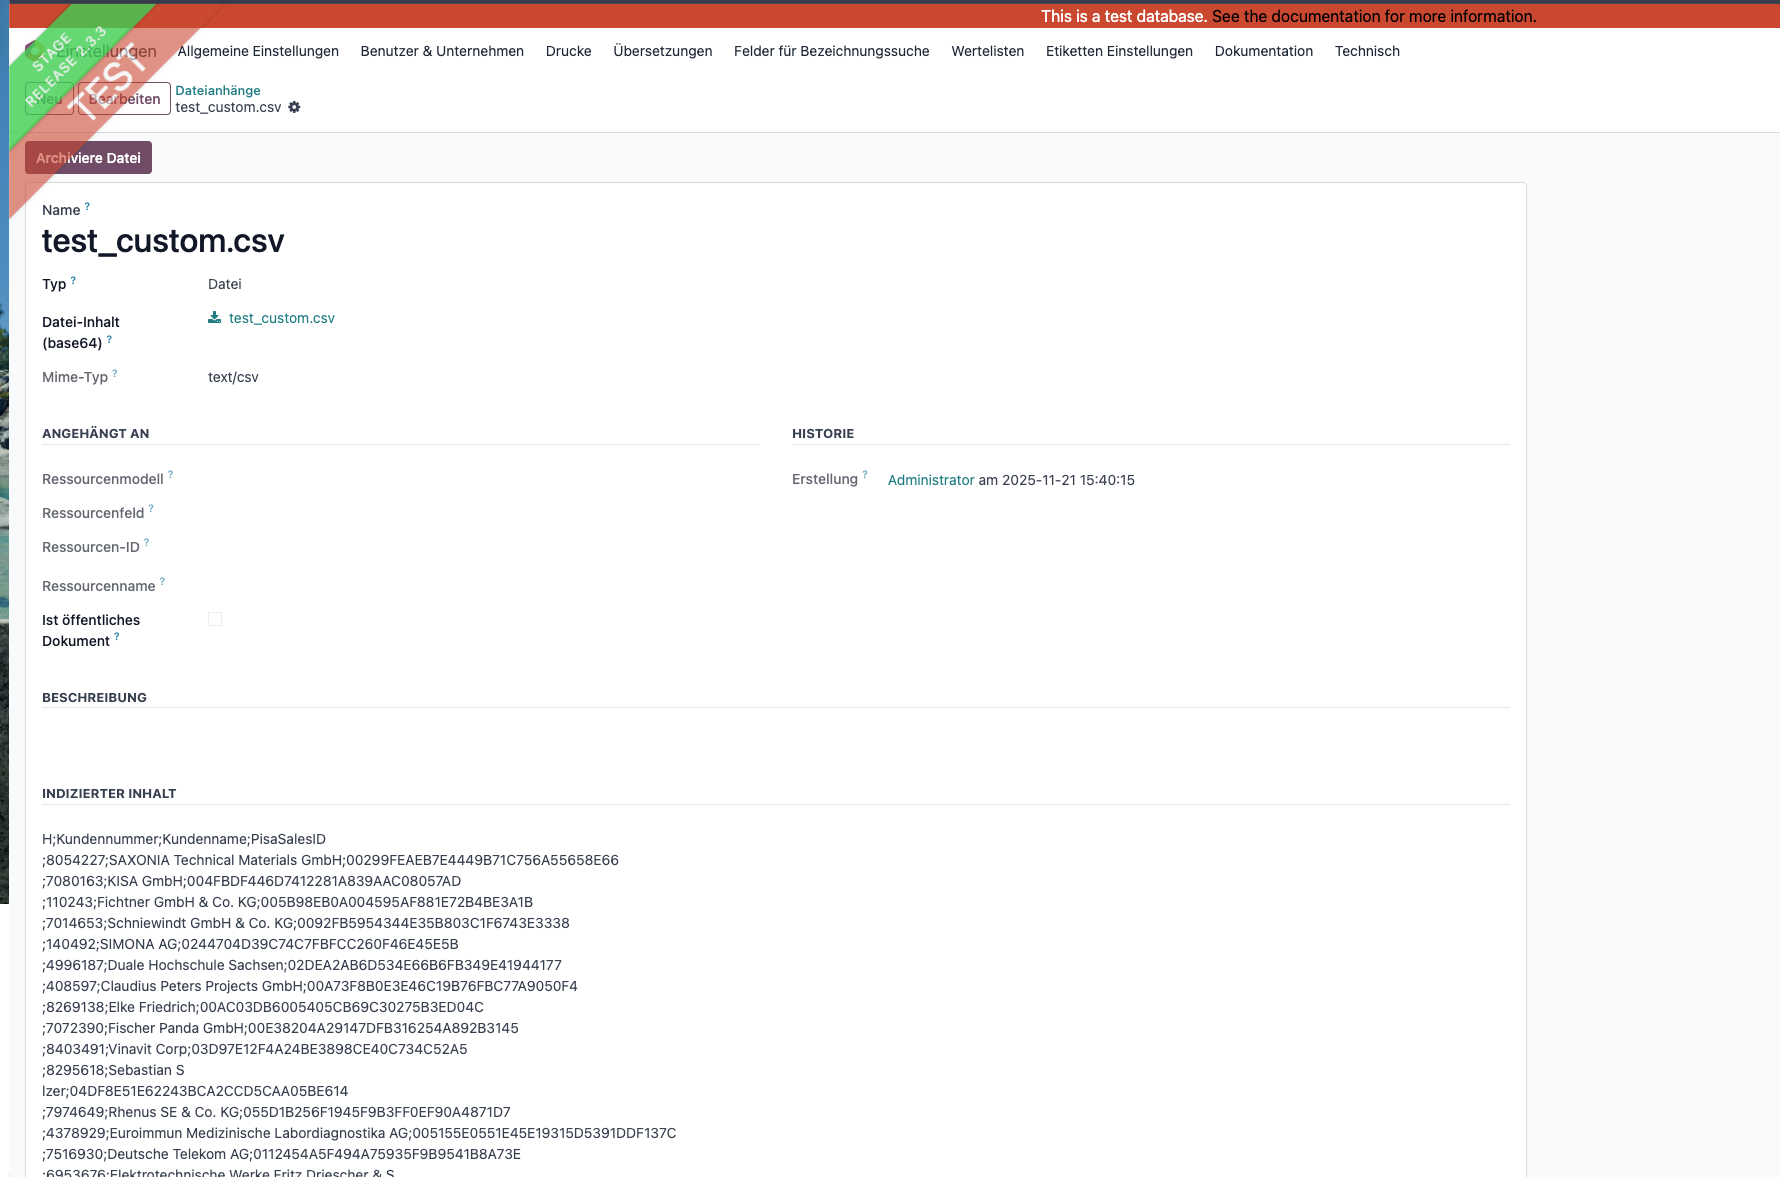
2. Create grabber
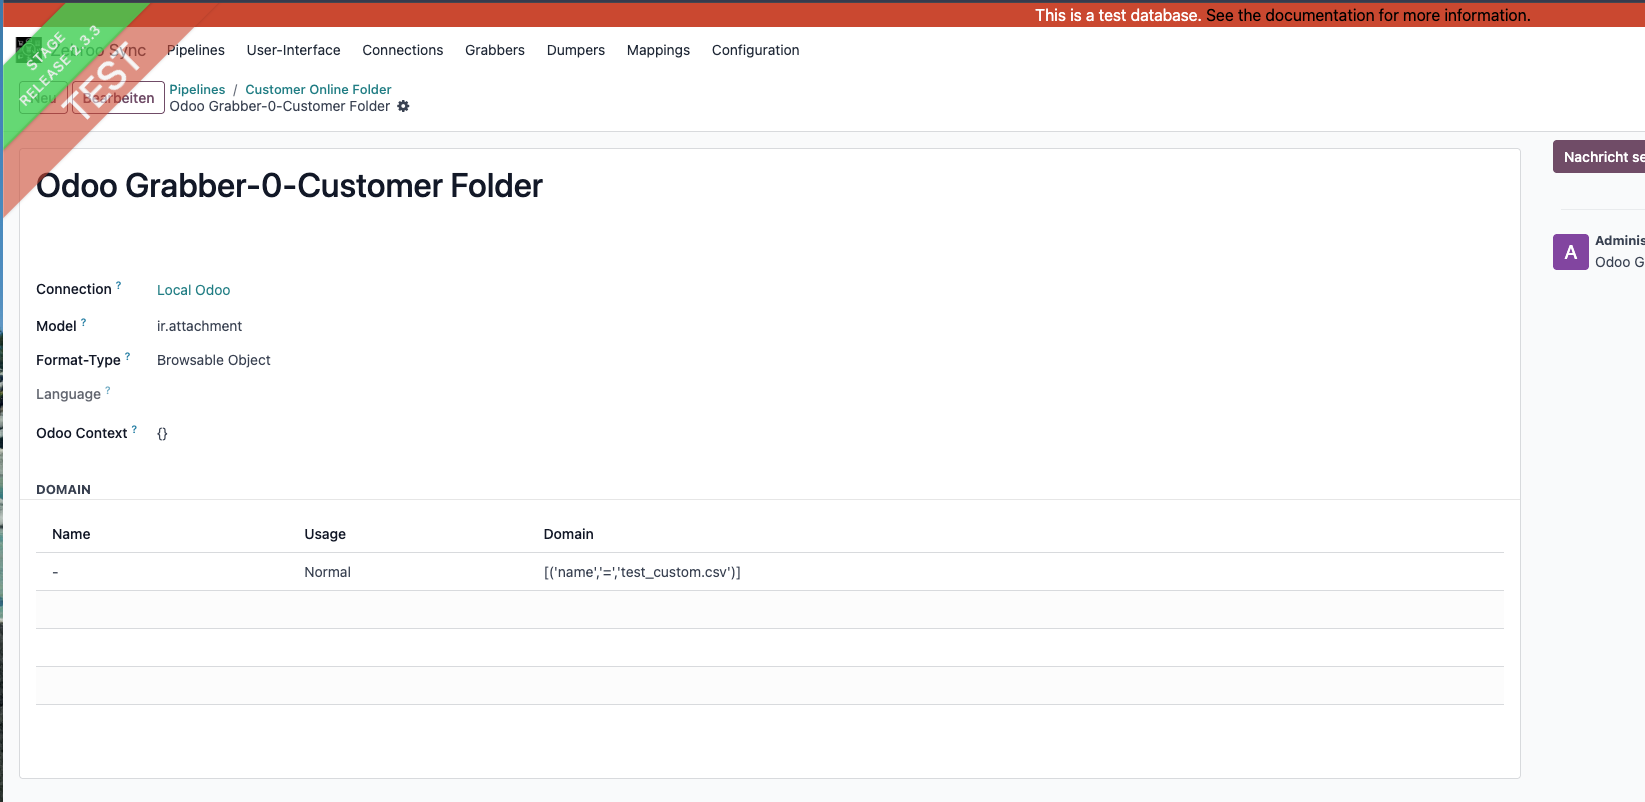
3. Mapper to read the data
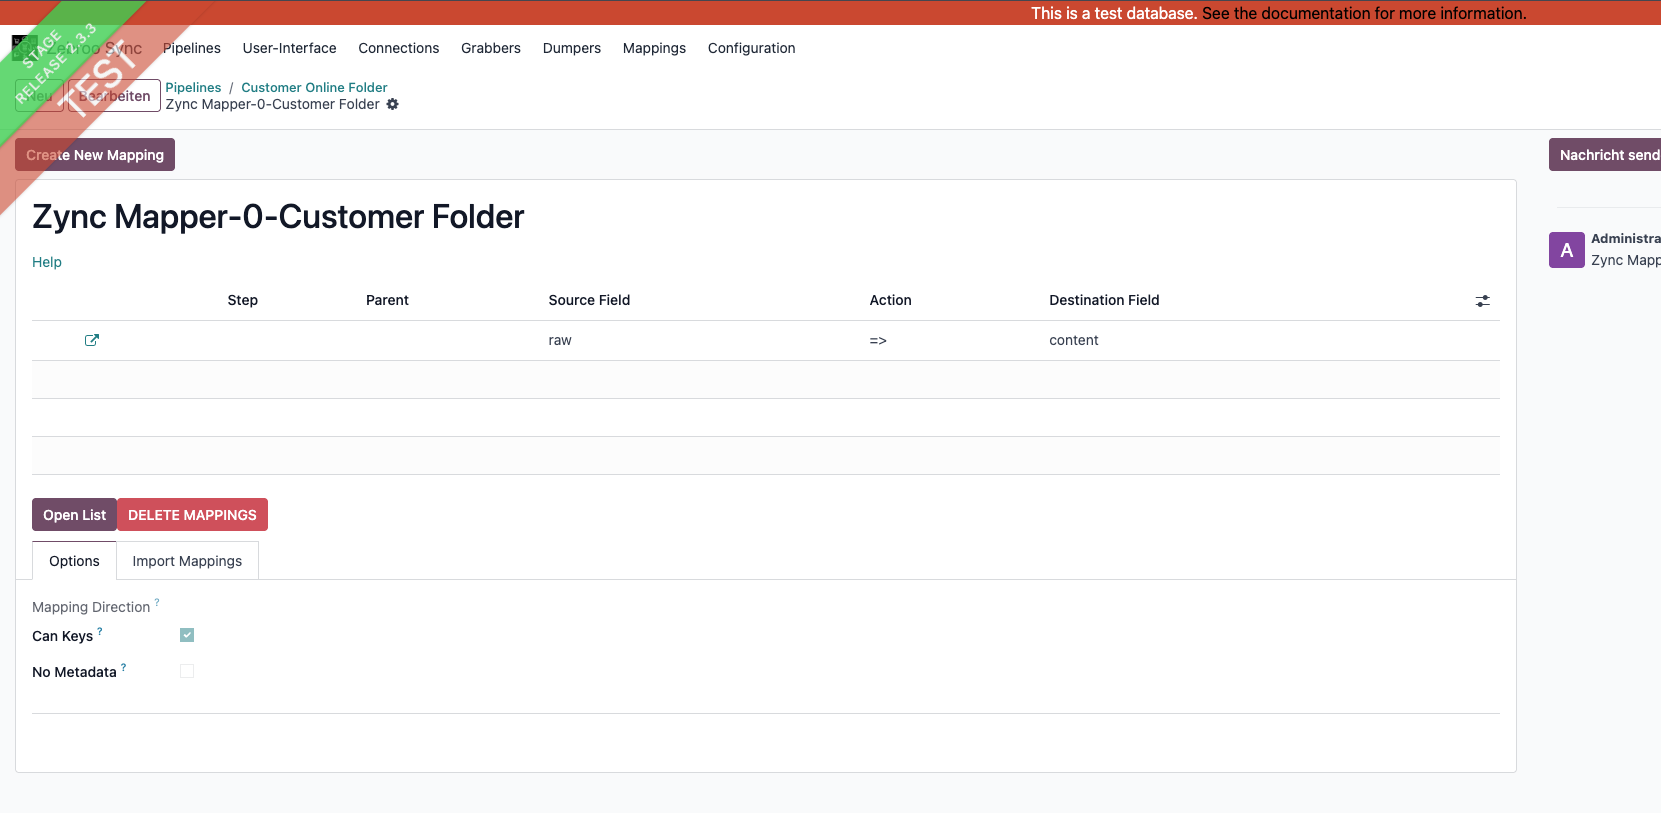
-
Other way to create wizard for file-upload using
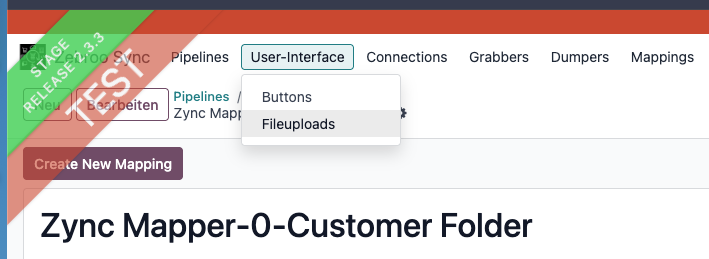
-
New record select pipeline, Select menu path to create menu
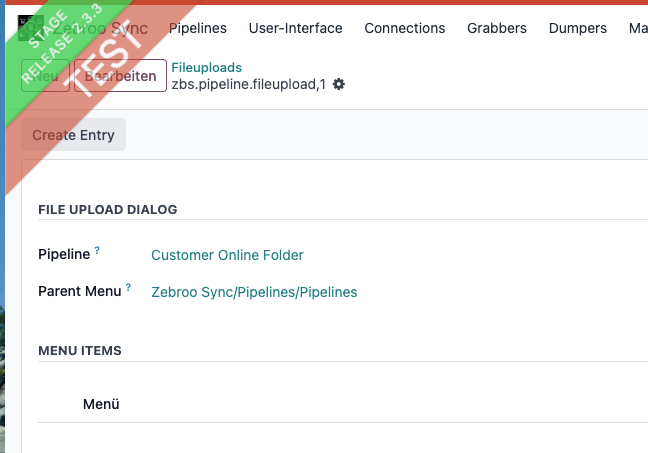
After save record click "Create Entry".
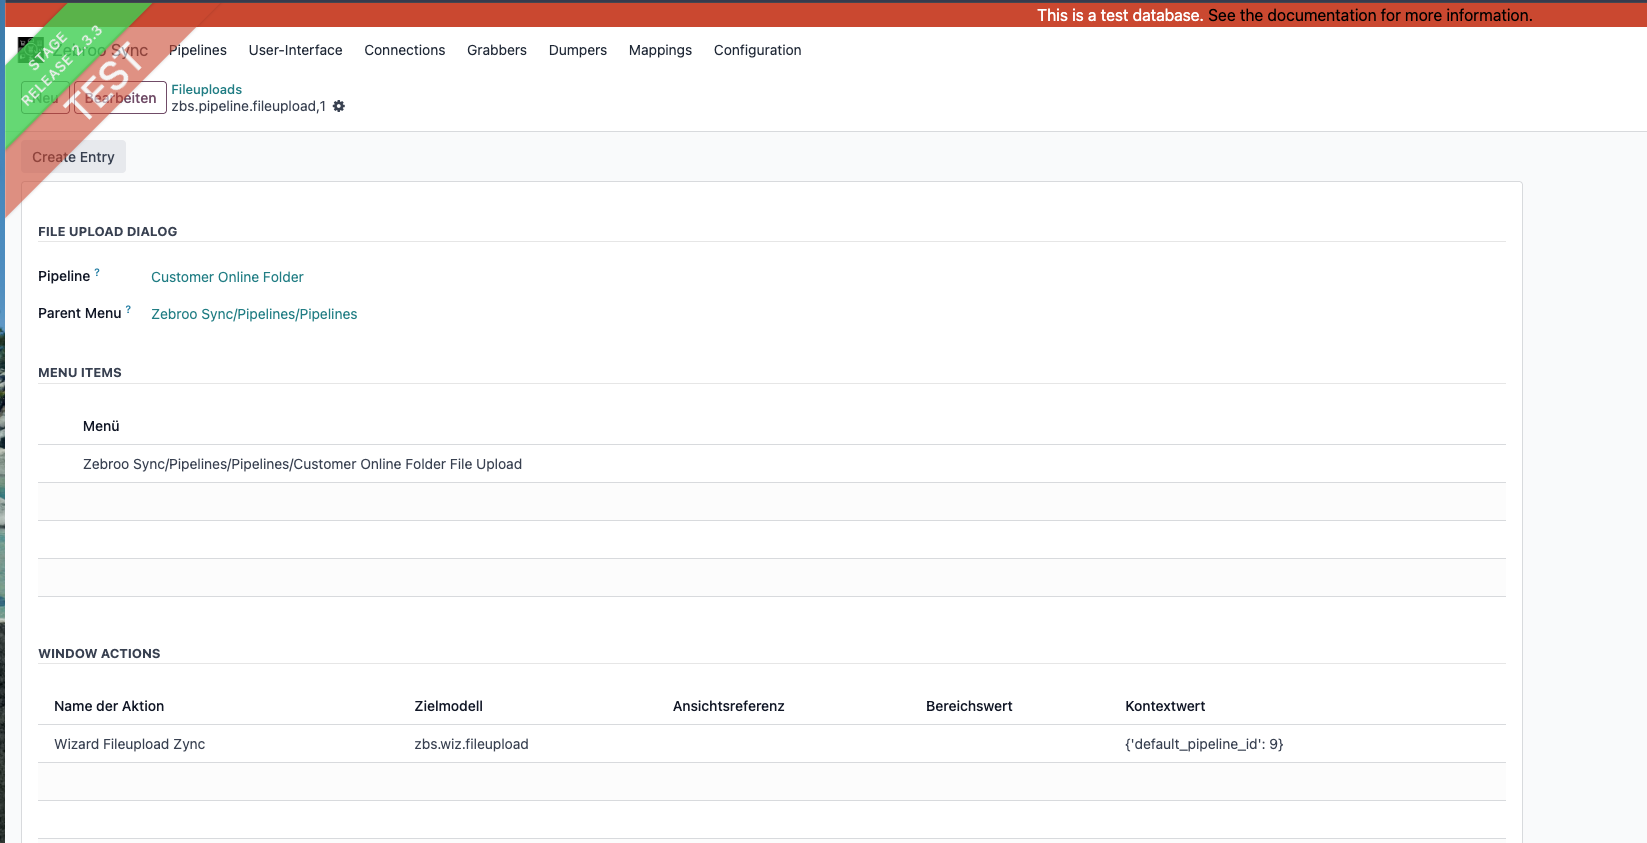
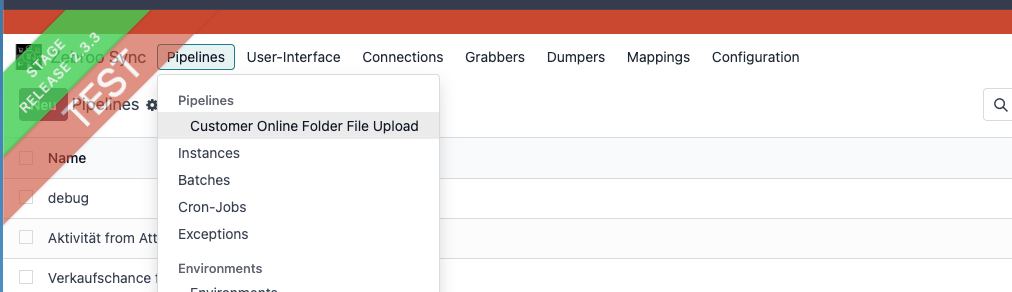
Refresh the screen and then you can see the menu to upload the file. Which will trigger related pipeline.
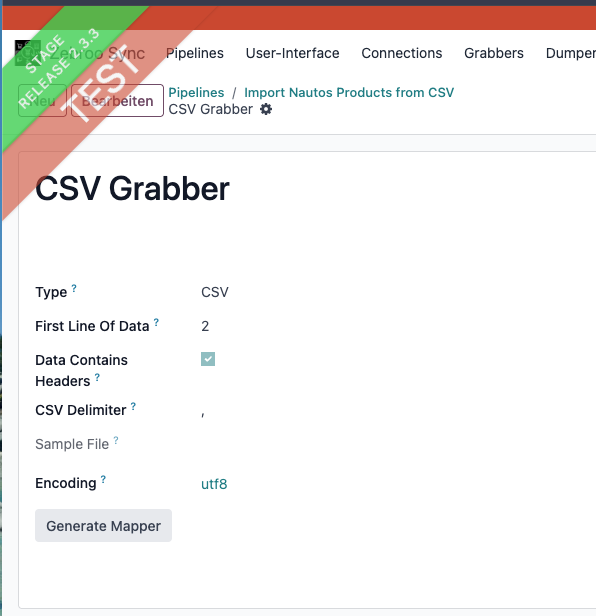
3. Add worker File Grabber, CSV/EXCEL Grabber and
run the pipeline and upload the file in the related workers.
So you can easily import data without creating/customising the script or code. easily.
So you can easily import data without creating/customising the script or code. easily.